
Homemade Clay Masks Using Natural Ingredients for Glowing Skin
Are you looking for a simple way to refresh your skin? Making homemade clay masks using natural ingredients can help rejuvenate your complexion while being gentle on your skin. These masks are not only easy to prepare but also use ingredients you probably already have at home.
Using clay, such as bentonite or red clay, combined with items like honey, yogurt, or apple cider vinegar can create effective treatments. These natural ingredients are known for their skin-loving properties, helping to cleanse, nourish, and brighten your face without harsh chemicals.
In this article, you will discover various recipes and tips for creating your own clay masks, so you can enjoy a spa experience right in your home. Get ready to pamper yourself with these straightforward and fun DIY projects!
The Benefits of Homemade Clay Masks
Using homemade clay masks can be a great way to pamper your skin. They offer natural ingredients that can enhance your skincare routine while being friendly to the environment.
Natural Ingredients and Your Skin
Homemade clay masks are rich in natural ingredients, which can be very beneficial for your skin. Clays like bentonite and French green clay help to absorb excess oil and impurities. They can also provide gentle exfoliation, leaving your skin feeling smooth and refreshed.
You can add ingredients like honey or aloe vera to boost hydration. Honey is naturally antibacterial and can soothe your skin, making it perfect for all skin types. With these simple, natural components, your DIY mask can be customized to meet your specific skin needs.
Environmental Advantages
Creating your own clay masks is also better for the environment. Many store-bought masks come in plastic packaging, which contributes to waste. By making your own, you can reduce that impact.
You can also choose sustainably sourced ingredients. This means you support eco-friendly practices while caring for your skin. Plus, using natural products reduces the risk of harmful chemicals that can be found in commercial skincare items. Making homemade clay masks is not just beneficial for you, but also a kind choice for the planet.
Selecting Your Clay
Choosing the right clay for your homemade mask is essential. Different clays have unique properties that suit various skin types. Knowing which clay aligns with your skin’s needs will help you create an effective mask.
Bentonite Clay for Oily Skin
Bentonite clay is a fantastic choice if you have oily skin. Its strong absorbent properties help draw out excess oil and impurities.
- Oil Control: Bentonite helps regulate sebum production, making your skin feel fresh.
- Detoxifying: It can remove toxins from the skin, promoting a clearer complexion.
To use bentonite clay, mix it with water or apple cider vinegar to form a paste. Apply it to your face for 10-15 minutes. Rinse it off with warm water and follow up with a moisturizer. You’ll feel a difference in your skin’s appearance and texture!
Kaolin Clay for Sensitive Skin
If your skin is sensitive, kaolin clay is a gentle option. It is known for its soothing properties that help calm irritated skin.
- Non-irritating: Kaolin is milder than other clays, making it safe for sensitive skin.
- Gentle Exfoliation: It provides light exfoliation, removing dead skin cells without causing irritation.
To use kaolin clay, combine it with water or aloe vera gel to create a smooth mixture. Apply it gently, leaving it on for about 10 minutes. Rinse thoroughly with lukewarm water. This will leave your skin feeling soft and nourished.
Rhassoul Clay for Combination Skin
Rhassoul clay is excellent for those with combination skin. It balances both oily and dry areas effectively.
- Hydration: Rhassoul clay retains moisture while absorbing excess oil, keeping your skin balanced.
- Rich in minerals: It contains silica, magnesium, and potassium, which nourish the skin.
Mix rhassoul clay with water, yogurt, or honey to create a paste that’s easy to apply. Leave it on for 10-20 minutes for best results. Rinse with warm water to reveal refreshed and even-toned skin.
Incorporating Essential Oils
Adding essential oils to your clay masks can enhance their benefits and provide additional skin care effects. These oils offer various properties that can soothe, clear, or calm your skin, depending on your needs.
Lavender for Soothing
Lavender essential oil is well-known for its calming properties. When added to a clay mask, it can help reduce stress and promote relaxation.
Benefits of Lavender:
- Soothing Effect: It helps soothe irritated skin and reduces redness.
- Aromatic Quality: The calming scent can improve your mood during application.
To use lavender oil, add 3-4 drops to your clay mask mixture. This boost can help make your skin feel more balanced and refreshed after each use.
Tea Tree for Acne-Prone Skin
If you’re dealing with breakouts, tea tree oil can be a game-changer. It has natural antiseptic properties that can cleanse pores and reduce inflammation.
Benefits of Tea Tree:
- Antibacterial Properties: It can kill acne-causing bacteria.
- Oil Control: Helps to manage excess oil production.
When using tea tree oil, just 1-2 drops in your clay mask will do the trick. This small amount can significantly improve your skin’s clarity and help reduce blemishes over time.
Chamomile for Redness Reduction
Chamomile oil is perfect for sensitive skin types. Its anti-inflammatory properties make it an excellent choice for minimizing redness and irritation.
Benefits of Chamomile:
- Gentle on Skin: Ideal for those prone to sensitivity or allergic reactions.
- Restorative Effects: Helps to heal and calm the skin.
Add 2-3 drops of chamomile oil to your clay mask for a soothing boost. This addition can help your skin recover from irritation and appear more even-toned.
Creating Your Mask
Making a homemade clay mask is a fun and rewarding process. You can customize your mask with natural ingredients that suit your skin type. Here’s how to get started properly.
Mixing Your Ingredients
Start by selecting your base clay. Common options are bentonite, kaolin, or French green clay. Each type has different benefits, so choose one that fits your skin’s needs.
Next, gather your ingredients. You might use equal parts clay and water for a simple mask. You can also add honey for moisture or apple cider vinegar to help with acne.
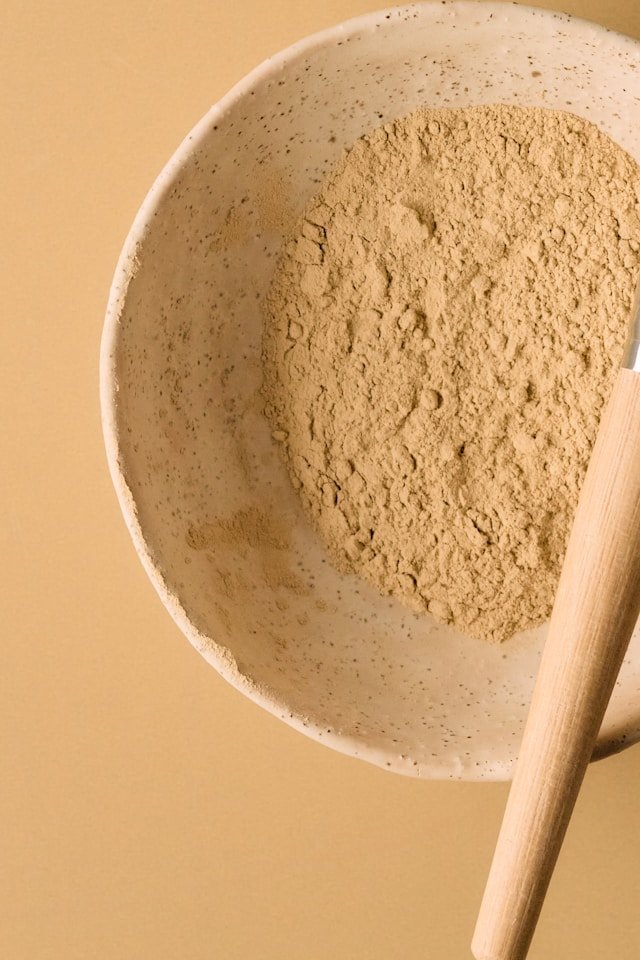
In a bowl, combine the clay with your chosen liquid. Use a wooden or plastic spoon to mix until you have a smooth paste. Avoid metal bowls or utensils, as they can react with the clay.
Applying Your Mask Correctly
Before applying, cleanse your face to remove dirt and oils. This helps the mask work better.
Use clean fingers or a brush to apply the mask evenly over your face. Stay clear of your eyes and mouth, as these areas can be sensitive. An even coating about 1/4 inch thick is ideal. Remember to relax as you apply; this is a self-care moment!
Timing for Optimal Results
Let the mask sit for about 10 to 15 minutes. Start checking your skin after the first 10 minutes. If it feels tight but not uncomfortable, that’s a good sign.
Avoid leaving it on until it completely dries out, as this can be drying. Once the time is up, rinse it off with warm water. Pat your face dry and follow up with your favorite moisturizer for the best results.
Aftercare and Storage
After using a homemade clay mask, proper aftercare and storage are essential for your skin’s health and the mask’s effectiveness. Taking care of your skin post-application and knowing how to store the mask will help you get the best results.
Rinsing and Skincare Post-Application
Once you are ready to take off your clay mask, rinse it off gently with lukewarm water. Use a soft washcloth to help remove any residue, making sure not to scrub too hard. This will avoid irritating your skin.
After rinsing, pat your face dry with a clean towel. Follow up with a hydrating moisturizer to lock in moisture.
Clay masks often absorb oils, so it’s important to replenish your skin’s hydration. You might also consider applying a soothing toner or mist to further calm your skin.
Preserving Your Mask for Future Use
Storing your homemade clay mask correctly can extend its shelf life. Use an airtight container to keep it fresh. Glass jars work well since they don’t react with the mask’s ingredients.
Keep your mask in a cool, dry place. Avoid exposure to heat or direct sunlight. If the mask contains any natural oils or perishables like yogurt or honey, it’s best to use it within a week.
To ensure the best consistency, stir the mixture before each use if it settles. If you notice any changes in smell or texture, discard the mask and make a new batch.